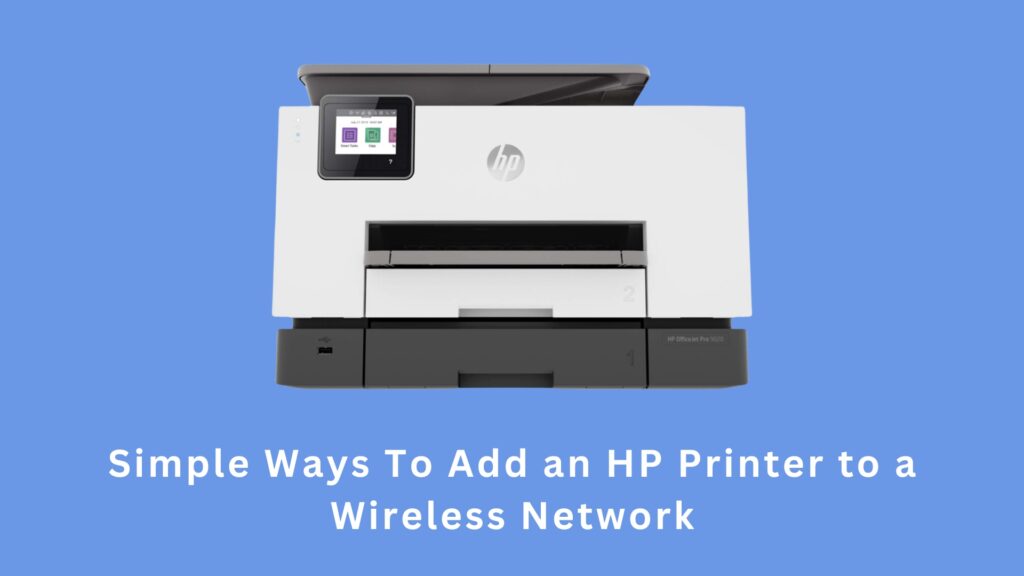
This brief guide demonstrates how to link a wireless HP printer to your Wi-Fi network, enabling printing from any computer within the network without direct connection to a computer. Prior to proceeding, verify that your printer supports wireless connectivity, as not all HP printers possess this feature.
To add your HP printer to a Wi-Fi network, follow these steps:
- Activate Setup Mode on your printer.
- Launch the HP Smart app.
- Choose “Set Up a New Printer” or “Add Printer.”
- Click on “Get Started.”
- Then, click or tap “Set Up” next to your printer.
Method 1 – Using the HP Smart App
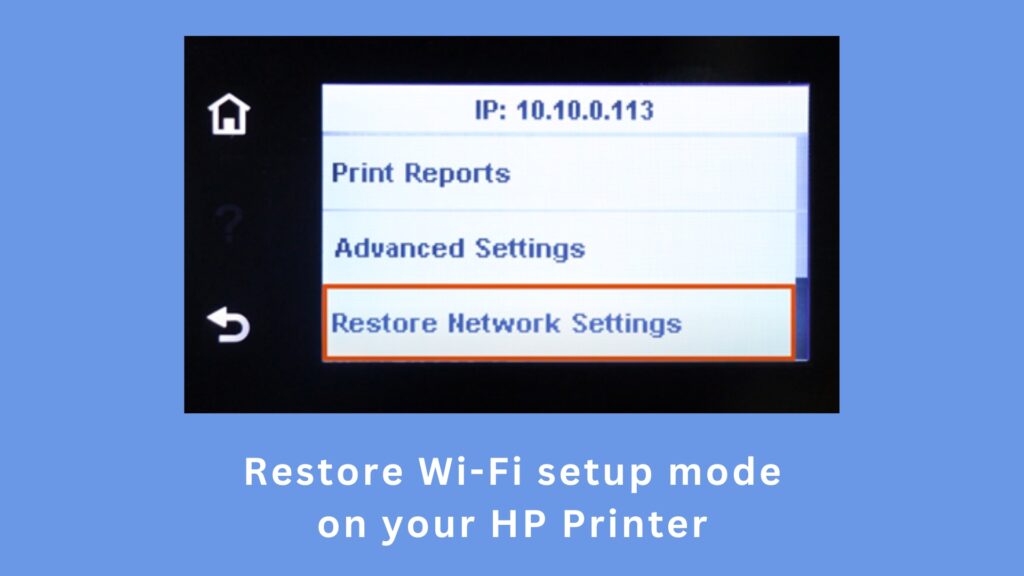
Activate Setup Mode on your HP printer to allow the HP Smart app to connect it to a Wi-Fi network. Enabling setup mode will reset any previous Wi-Fi network settings on the printer. Here’s how to enable setup mode:
If your printer has a touchscreen:
- Tap the Wireless or Setup menu.
- Navigate to Network setup/Settings > Restore Network Settings.
If there’s no touchscreen:
- Press and hold the Wi-Fi and X buttons simultaneously for 5 seconds until the Power light blinks.
- Release the buttons and wait for at least 60 seconds until the Wireless light blinks blue.
Note: If you’re using the printer with a guest network, such as in a college dorm room or hotel, this method won’t work, and you’ll need to connect using the Wi-Fi direct connection instead.
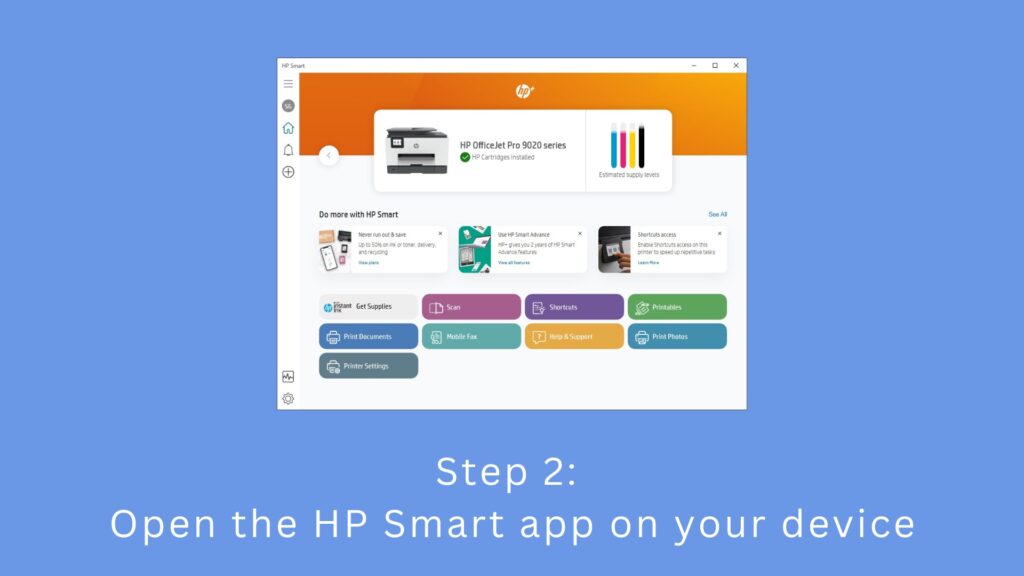
Launch the HP Smart app on your computer or mobile device. If you haven’t installed it yet, you can download it for free from the Microsoft Store (for Windows computers and mobile devices), App Store (for Macs), or iOS App Store (for iPads and iPhones).
Enable Bluetooth on your computer or mobile device to allow the HP Smart app to detect the printer.
If you encounter a “Welcome to HP Smart” window upon opening the app, click or tap “Accept All.”
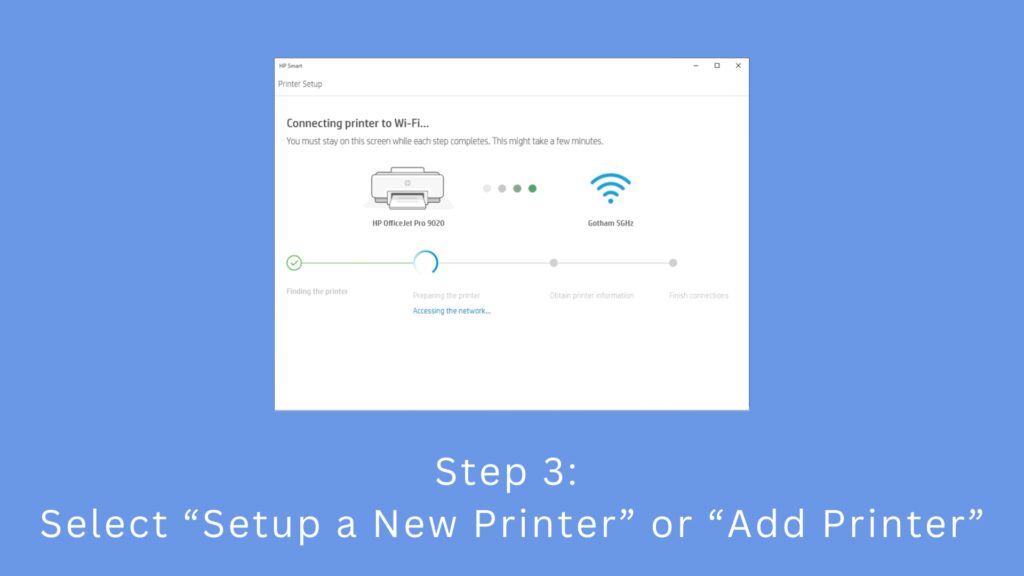
Choose “Set Up a New Printer” or “Add Printer.” The exact wording may differ depending on your device. If your printer model includes an “e” (such as HP OfficeJet Pro 9020e or ENVY Inspire 7200e), it signifies an HP+ printer, offering additional features linked to your account.
If prompted, click or tap “Sign In” and log in with your HP account credentials. Return to your printer and tap either the check icon or the information button to proceed. Then, click on “Get Started.”
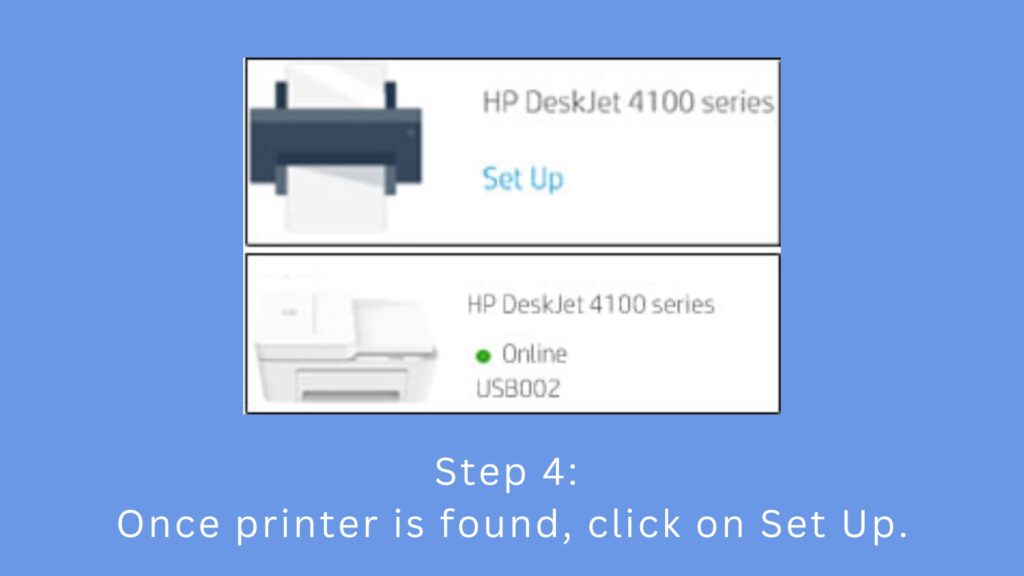
Click or tap “Set Up” next to your printer’s icon. Once you initiate the setup process for a new printer, the app will scan for printers ready to connect.
If your printer doesn’t appear, try turning it off, then back on, and re-enable Setup Mode so the Wireless light turns blue again.
Follow the on-screen instructions to complete the connection. It may take a few minutes for the printer to appear in the app for you to use it.
If you own an HP+ printer, tap “Continue” and choose either “Activate HP+” or “Confirm.” Sign into your account again, then follow the on-screen instructions to claim your free ink.
Method 2 – Using Wireless Setup Wizard(Touchscreen)

Access the Setup, Network, or Wireless settings menu on your printer. The specific name of this menu can vary depending on your printer model.
This method is applicable if your printer features a touchscreen.

Choose “Wireless Setup Wizard.” If this option isn’t available, select “Wi-Fi Protected Setup,” “WPS,” or “Push Button” instead.
If you need assistance locating your WPS PIN, explore “Easy Ways to Find the WPS PIN for Printers: Common + Specific Models” for guidance.

Connect to your Wi-Fi network by selecting it from the list and entering the password. Once successfully connected, utilize HP Smart to wirelessly print, scan, and copy from your printer!

If you’re still experiencing issues with your printer, it’s possible that the problem lies with the printer itself. For further assistance with connecting your printer to your PC, please contact our chat support. We’ll be happy to help resolve the issue.


